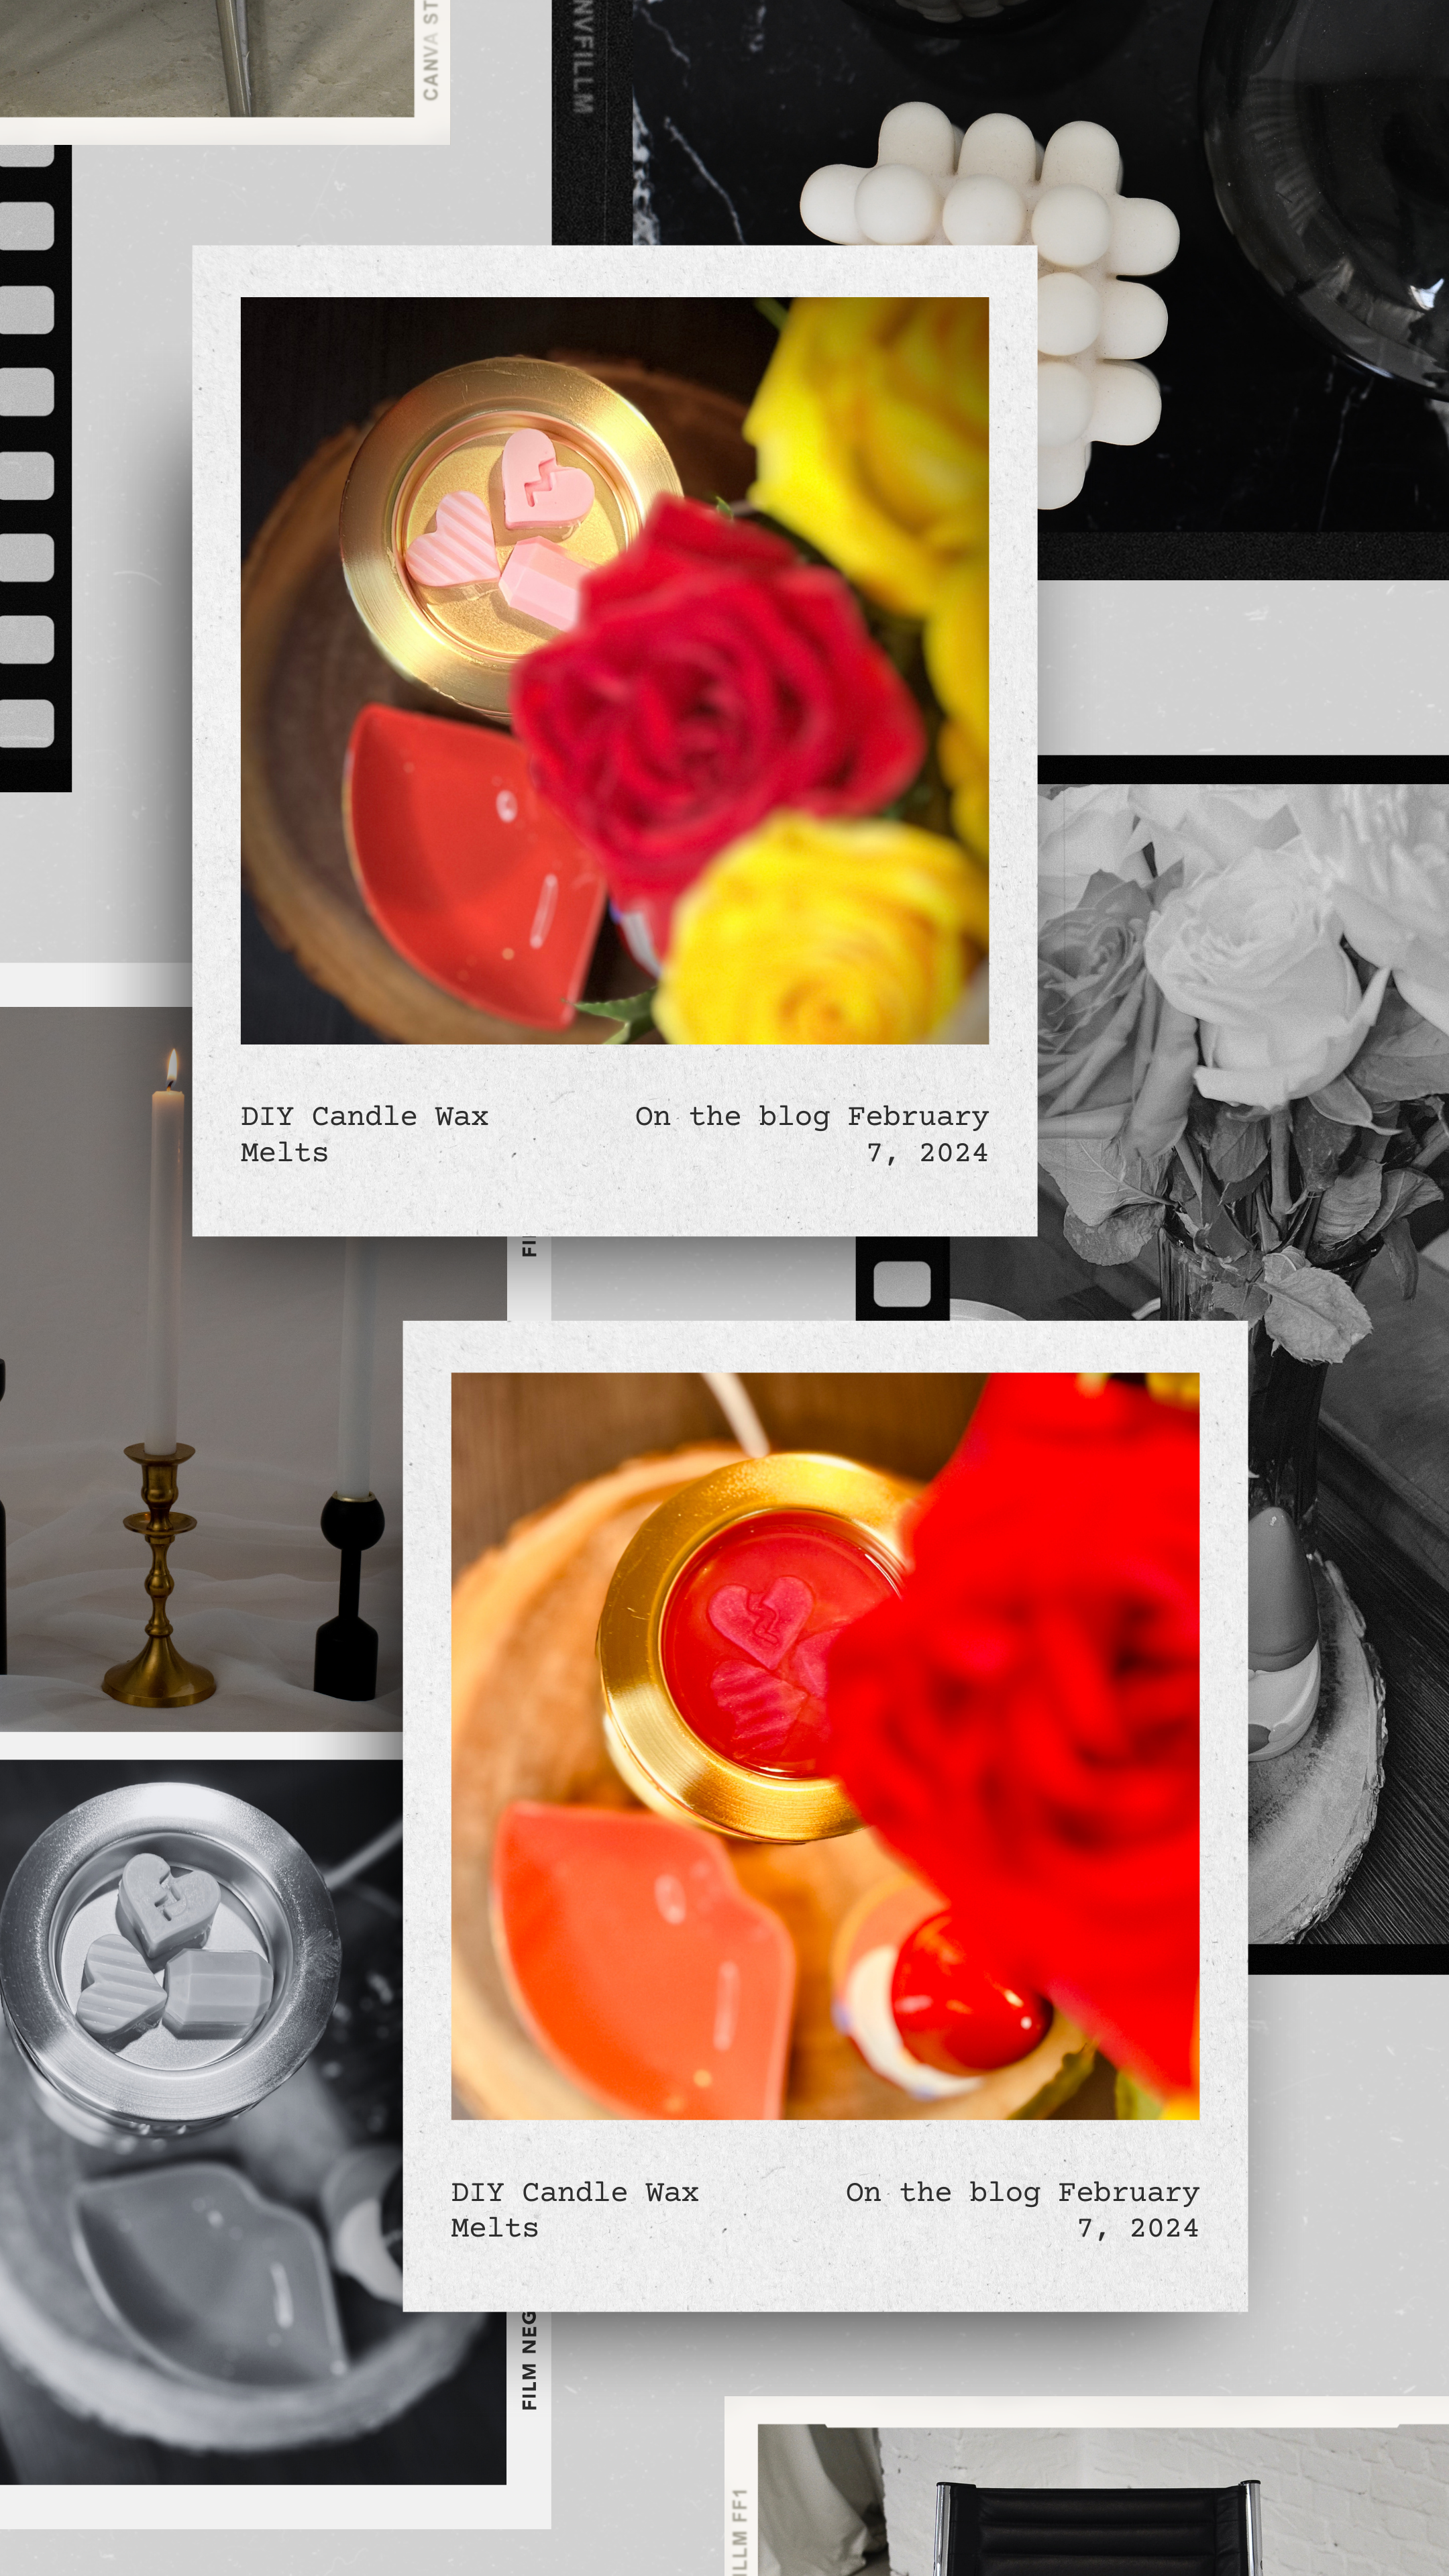
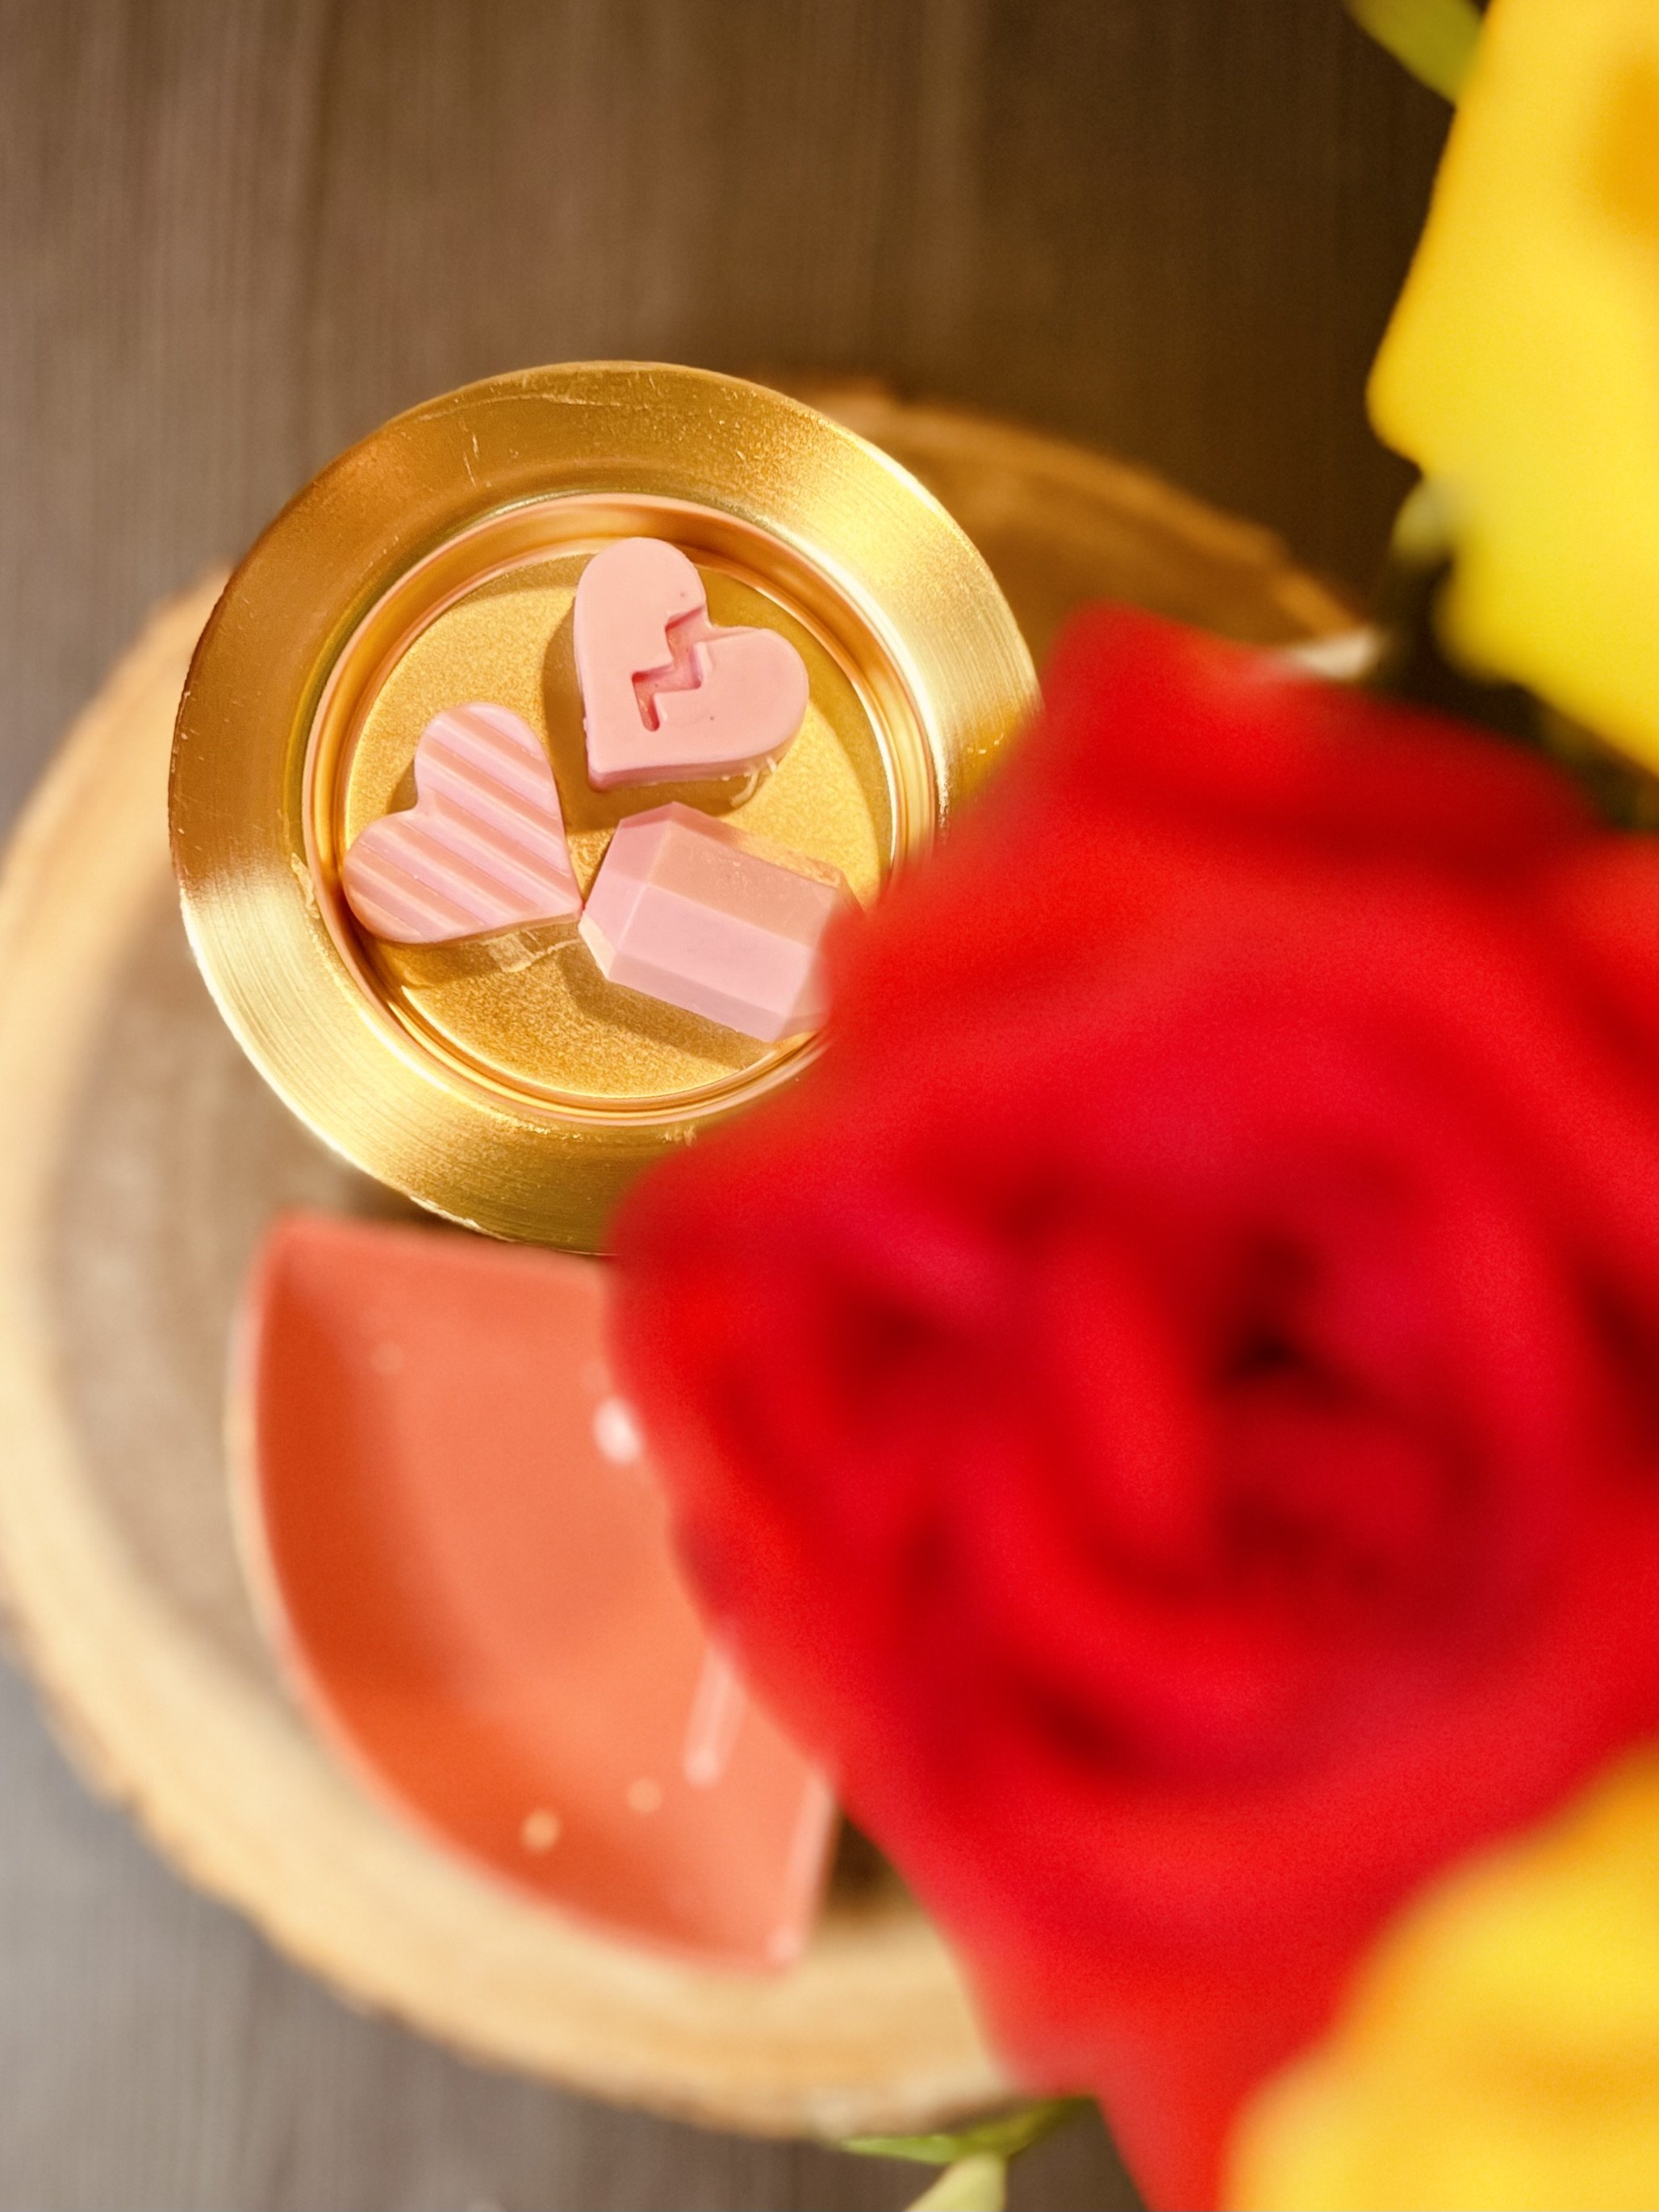
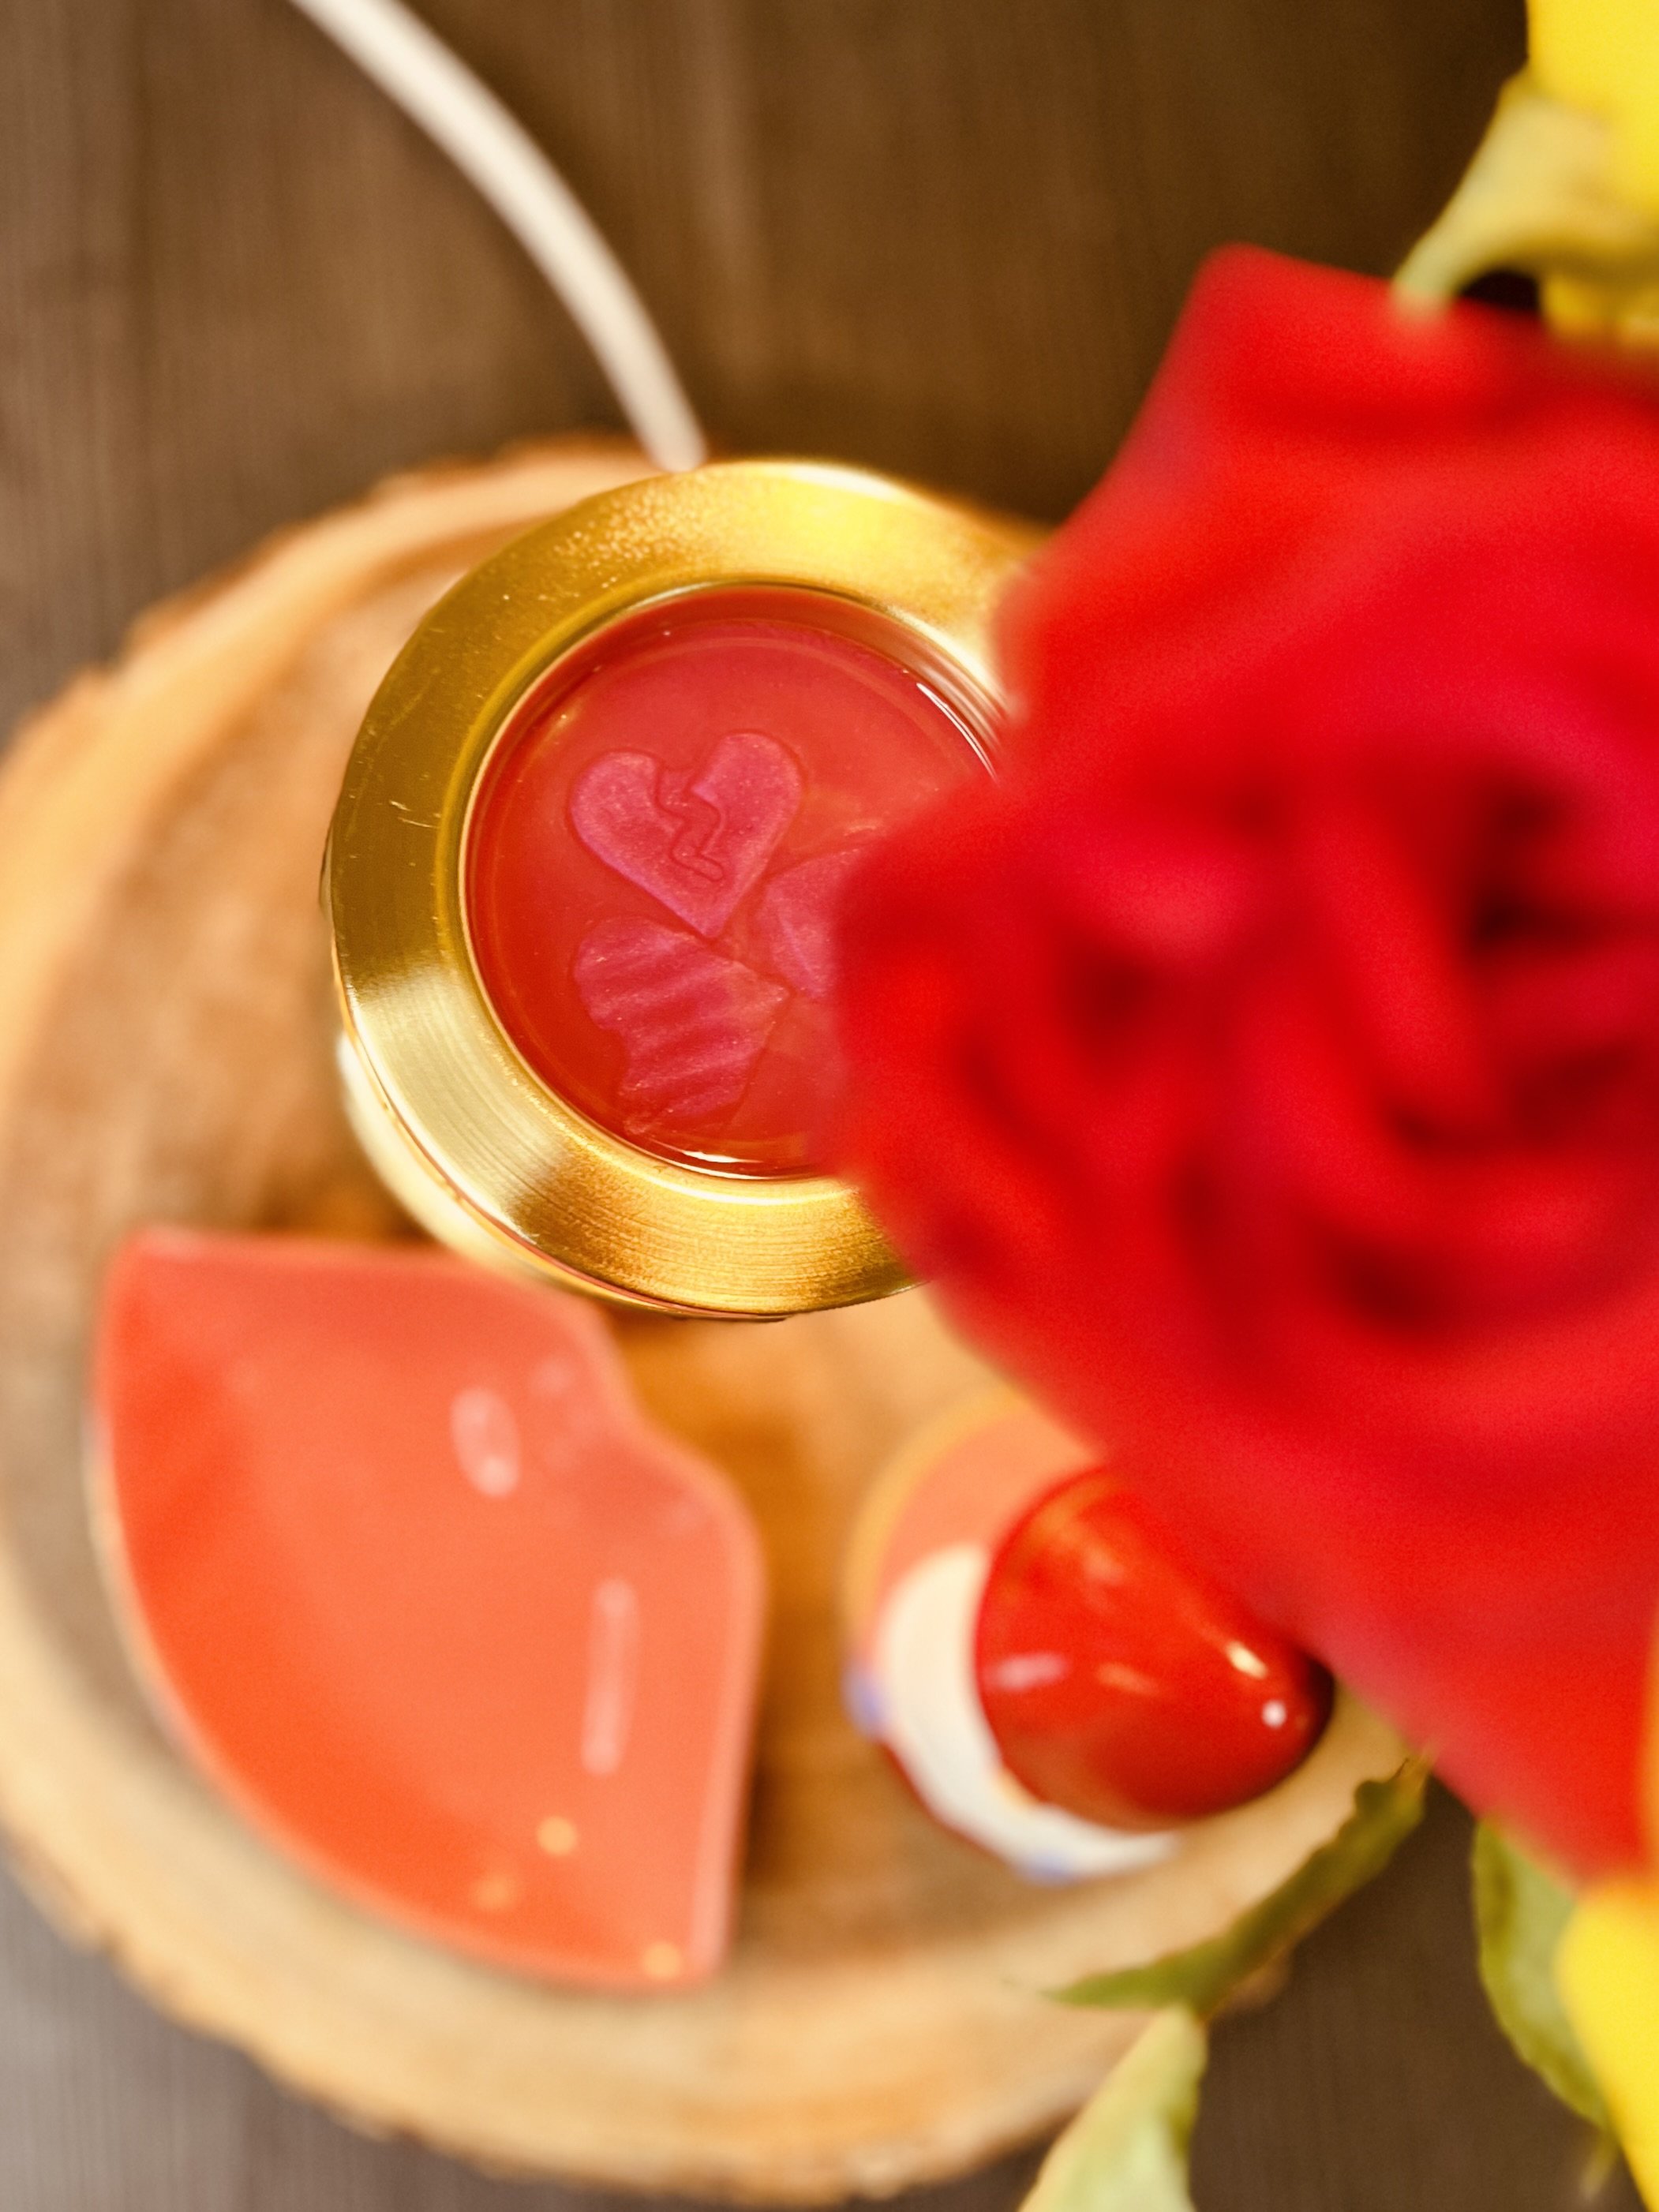
DIY Candle Melts

In an ideal world, I would’ve begun gift shopping for the Christmas of 2023 in January, but life be life-ing, and before I knew it, we were eating Thanksgiving dinner.
Christmas shopping for two and a half children (I say “two and a half” because we have a baby at the age where he can rip wrapping paper but has no idea why he’s tearing it) is not cheap in this day and age. So, I created handmade gifts for our extended family and friends. Now, if it were up to my husband, we’d send well wishes and call it a day.
Although verbally expressing your love and gratitude is just as great of a gift as a physical one, I knew I could use my gift of crafting to offer a tangible present. While some may disagree, gifting is about showing appreciation for others, and the price shouldn’t always represent that appreciation.
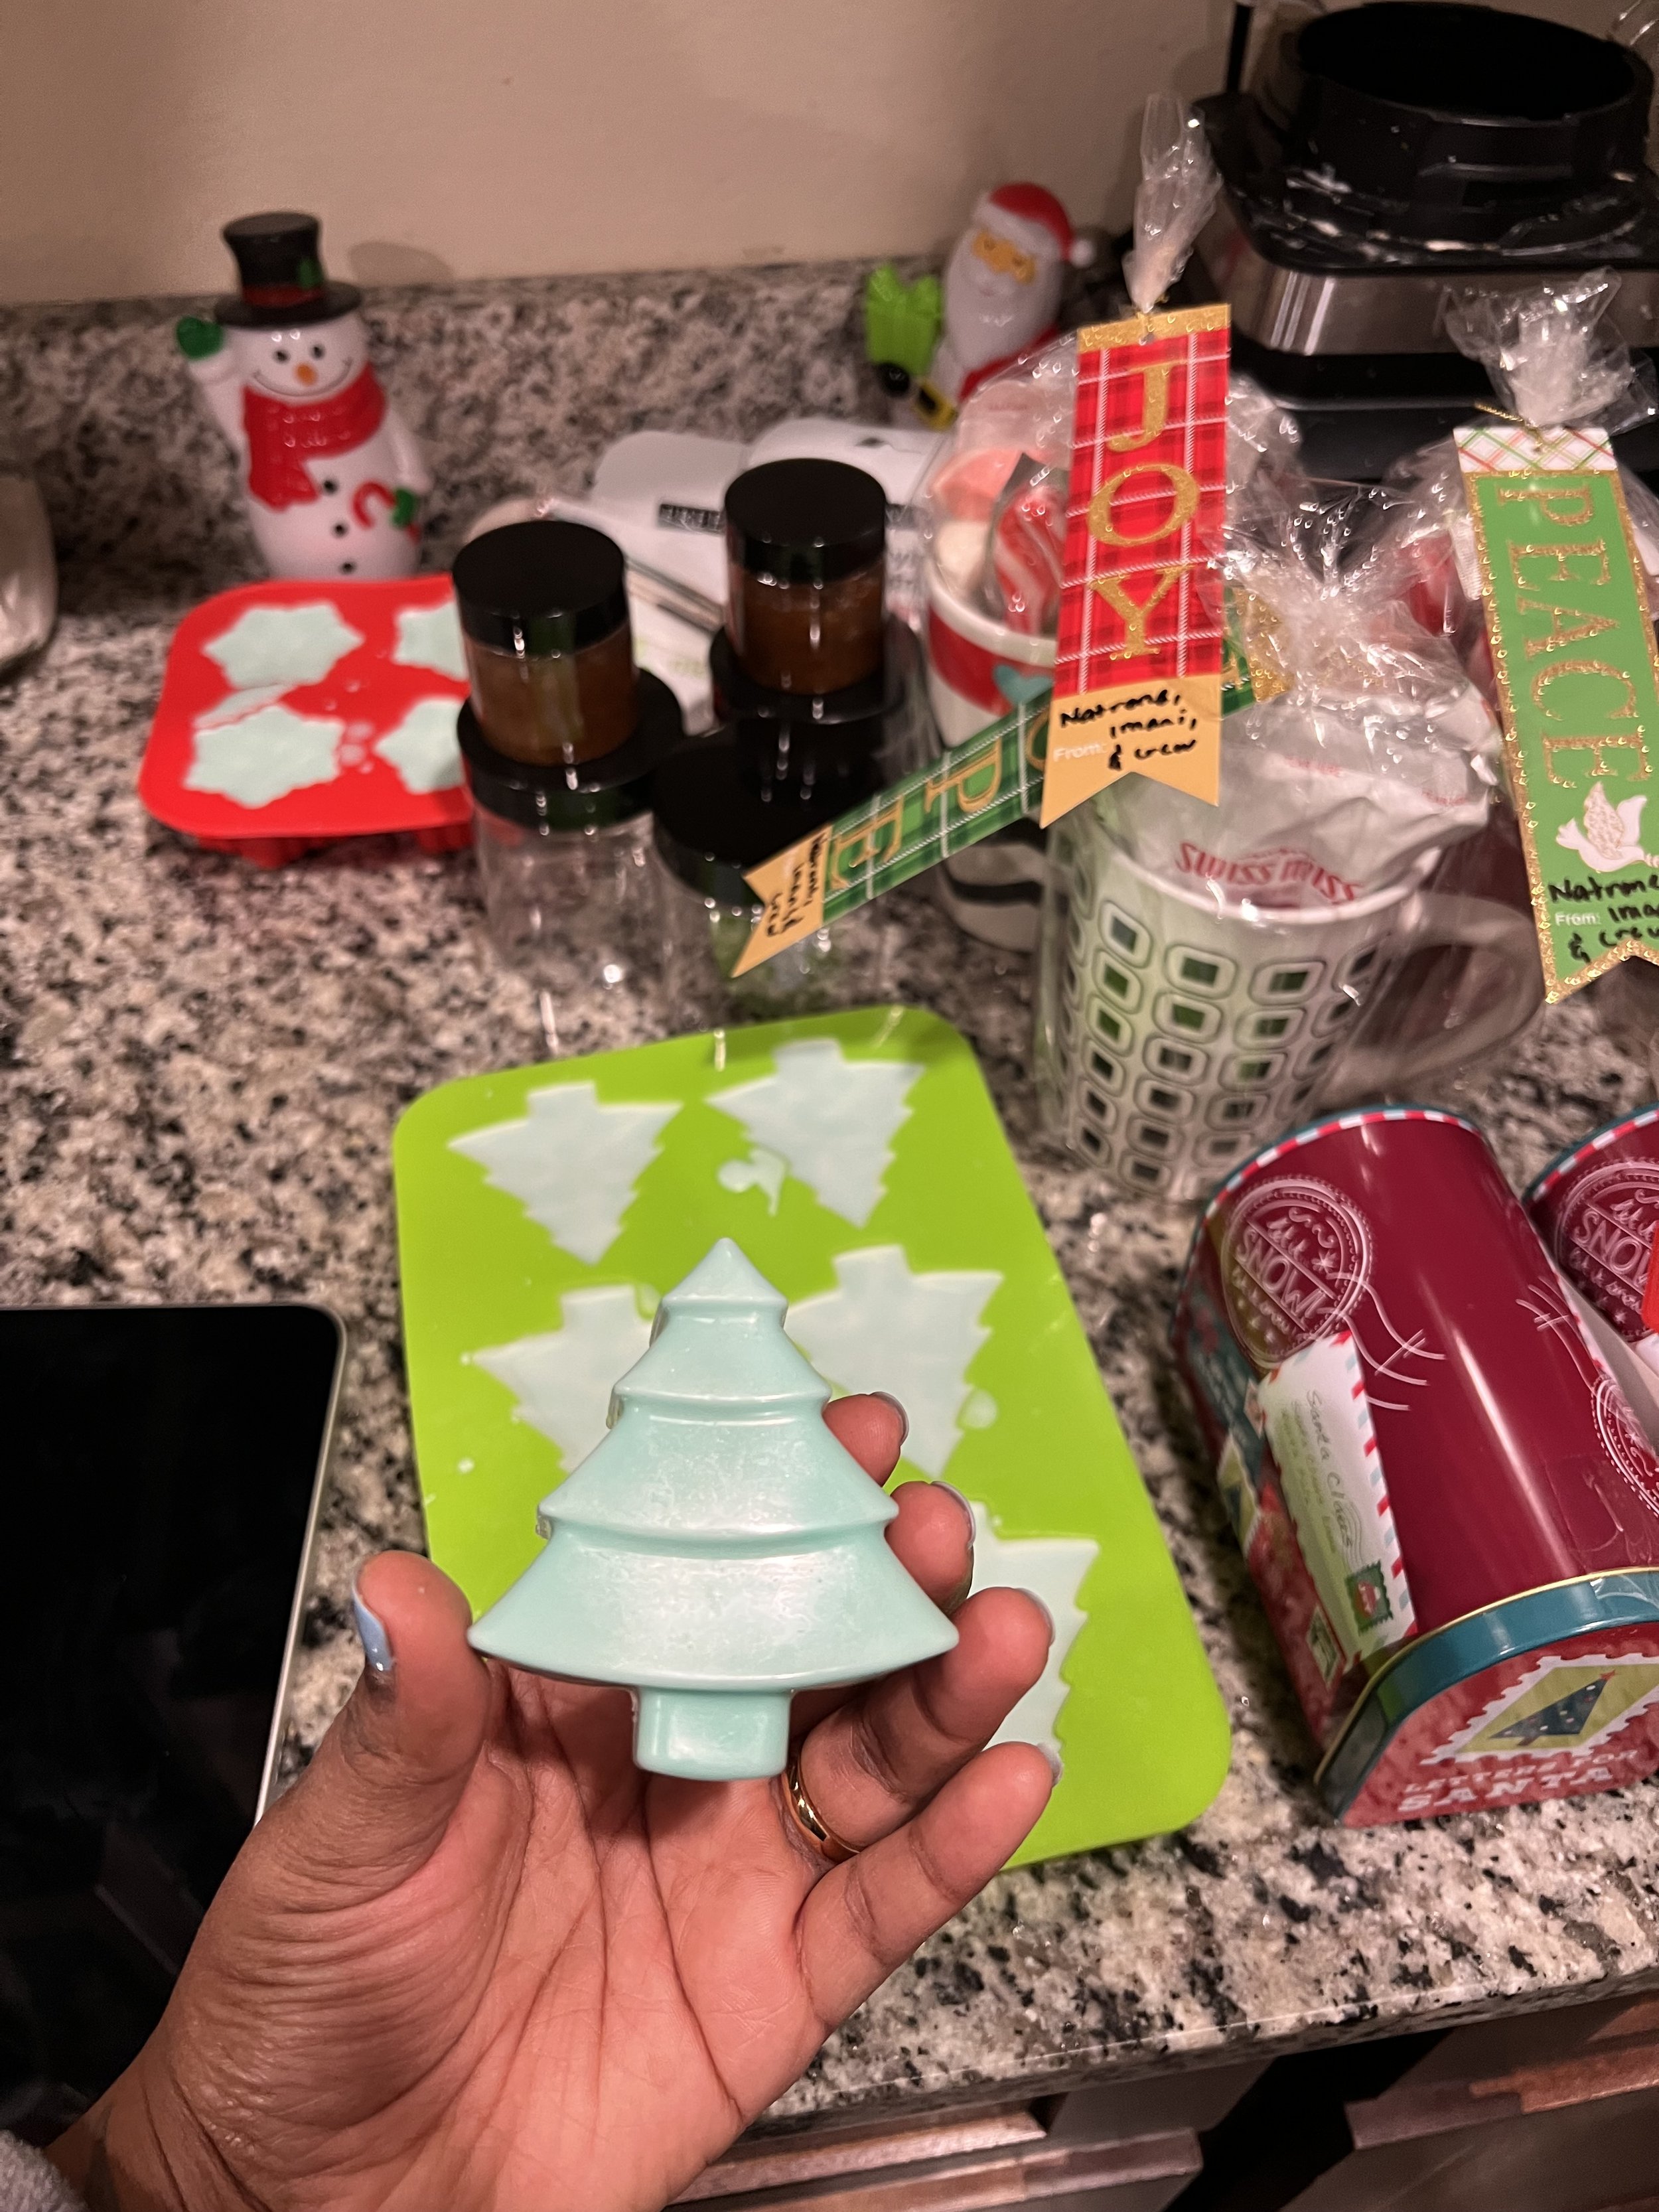
I compiled the supplies I had at home and concocted tree and snowflake candle melts. The two main ingredients used to make these melts were beeswax and coconut oil. I also used cookie molds, essential oils, and mica powder to make the candle melts.
Even though I created Christmas-themed candle melts, this recipe can be applied at any time of the year for any holiday. You can find the recipe for candle melts below.
How to Make Candle Melts
Ingredients
1 cup beeswax pellets
1/2 cup coconut oil
Essential oils of your liking
Mica powder of your liking
Tools
Molds of your liking or parchment paper
Double boiler
Stirrer or spoon
Pancake dispenser (optional)
Directions
Combine coconut oil and beeswax in a double boiler over medium-high heat.
Allow the coconut oil and beeswax to melt completely, stirring occasionally to ensure adequate blending.
Once the ingredients are fully melted and blended, remove from the heat and mix in essential oils of your liking and mica powder for color.
Stir the mixture and pour into a mold of your liking. Alternatively, pour the melted wax into a pan lined with parchment paper.
Let the wax cool down completely and then pop them out of the molds. If you used parchment paper, use a sharp knife to cut the wax into squares.
Bottle the wax melts and use on a candle wax warmer when ready.
Perfecting Your Candle Wax Melts
The beautiful thing about crafting your own candle wax melts is having the freedom to customize it to your liking. You can add more essential oils for a more potent fragrance, or vice versa. This could be especially beneficial in a household with heightened senses. Perfecting your candle wax melt blend can take time and require a bit of trial and error. However, when you have the right mix, you’ll reap the benefits of using natural oils and have a pleasantly fragmented home.
Tip #1: If the intensity of smell from the wax melts starts fading after a couple of uses, you can top it off with additional drops of essential oils while it’s on the candle warmer.
Tip #2: If using parchment paper, please read. If you want to make dot-shaped candle melts, allow the mixture to cool a little before dropping wax dots on the parchment. If it’s too hot, the liquid will roll fast without settling into a dot-shaped form, and if it’s too cool, it might not pour out smoothly.